How to paint a room
Painting a room is a basic decorating task that absolute beginners can do. But it’s also one of those jobs that you might find yourself putting off, especially if you’re not the most confident or it’s your very first go at painting.
So to put you at ease, here are our tips and trade secrets to help you get a finish that a pro would be proud of.
1. Paint in the right order
If you’re painting everything in a room, there’s a specific order to paint in for the best results.
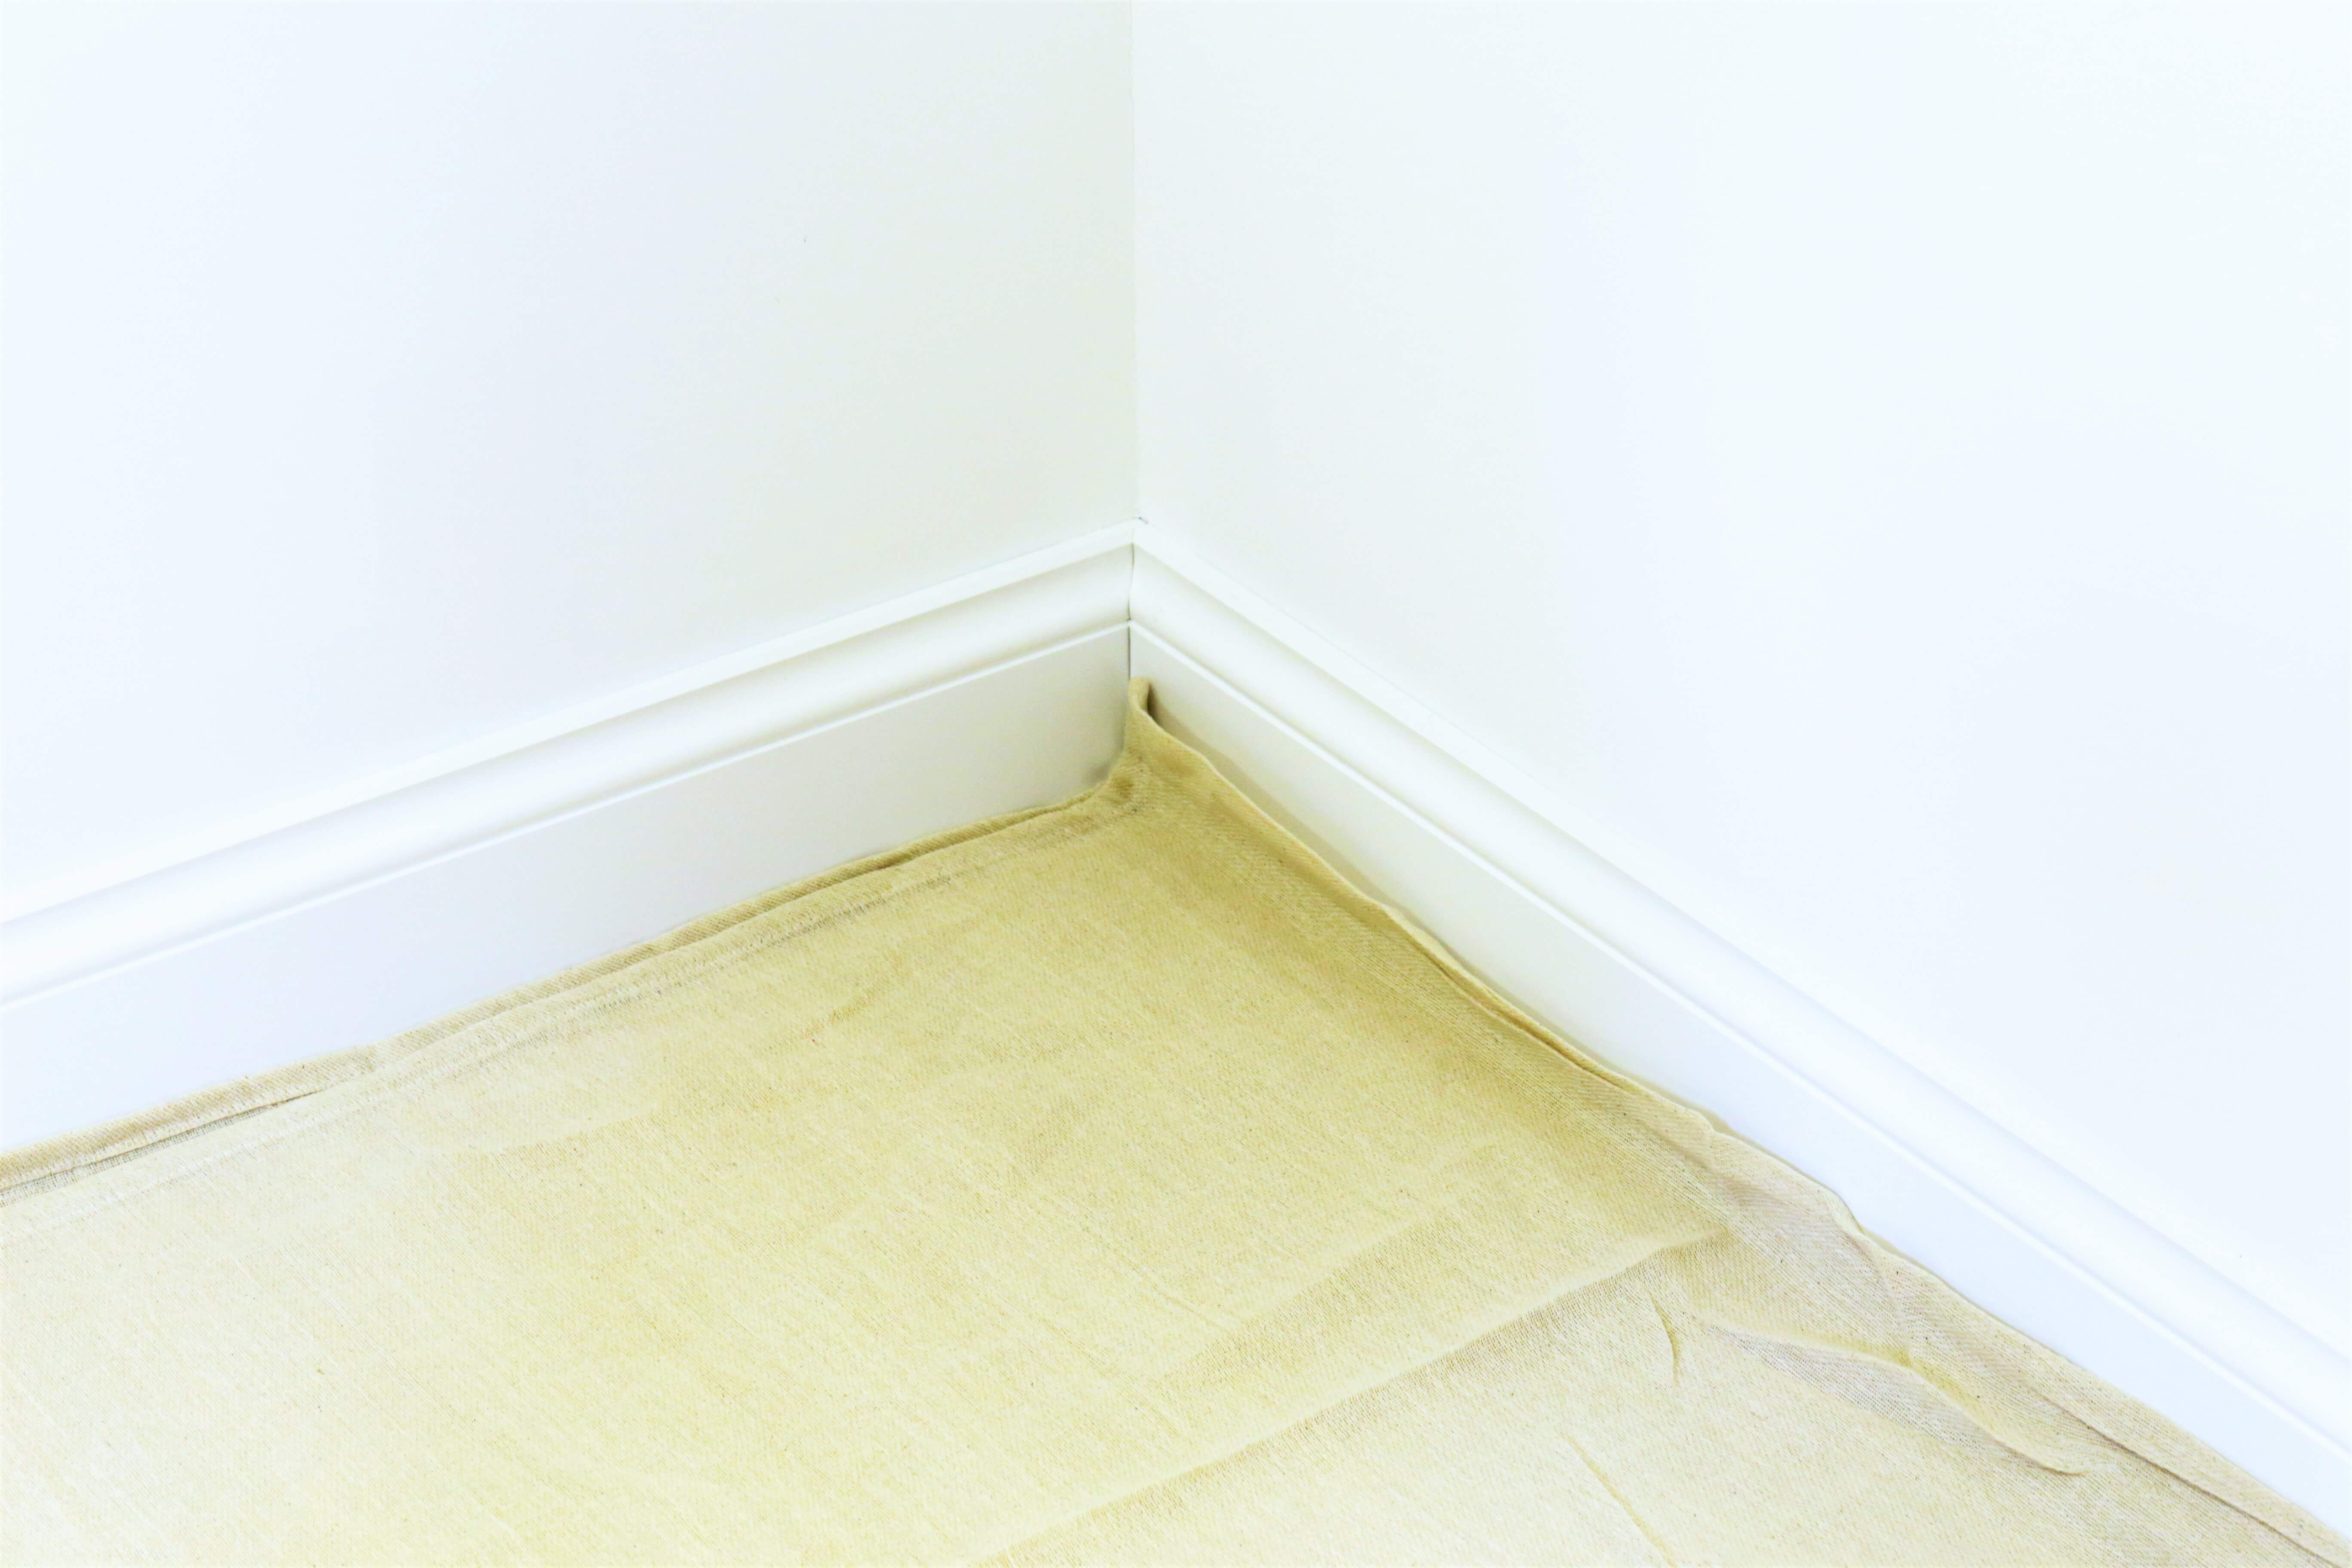
Start by painting the ceiling. This will avoid any splatters on freshly painted walls and is getting the hardest job out of the way first. Make sure you protect your floor with a dust sheet and use a roller to make the job easier.
Your walls come next. To ensure you don’t get any wall paint on your freshly painted ceiling, use decorator’s tape and place it as close to the edge of the ceiling as you can. This will give you a crisp finish just like professionals get. If you’re painting fresh plaster, the process is different and we’ve got a helpful guide for you here.
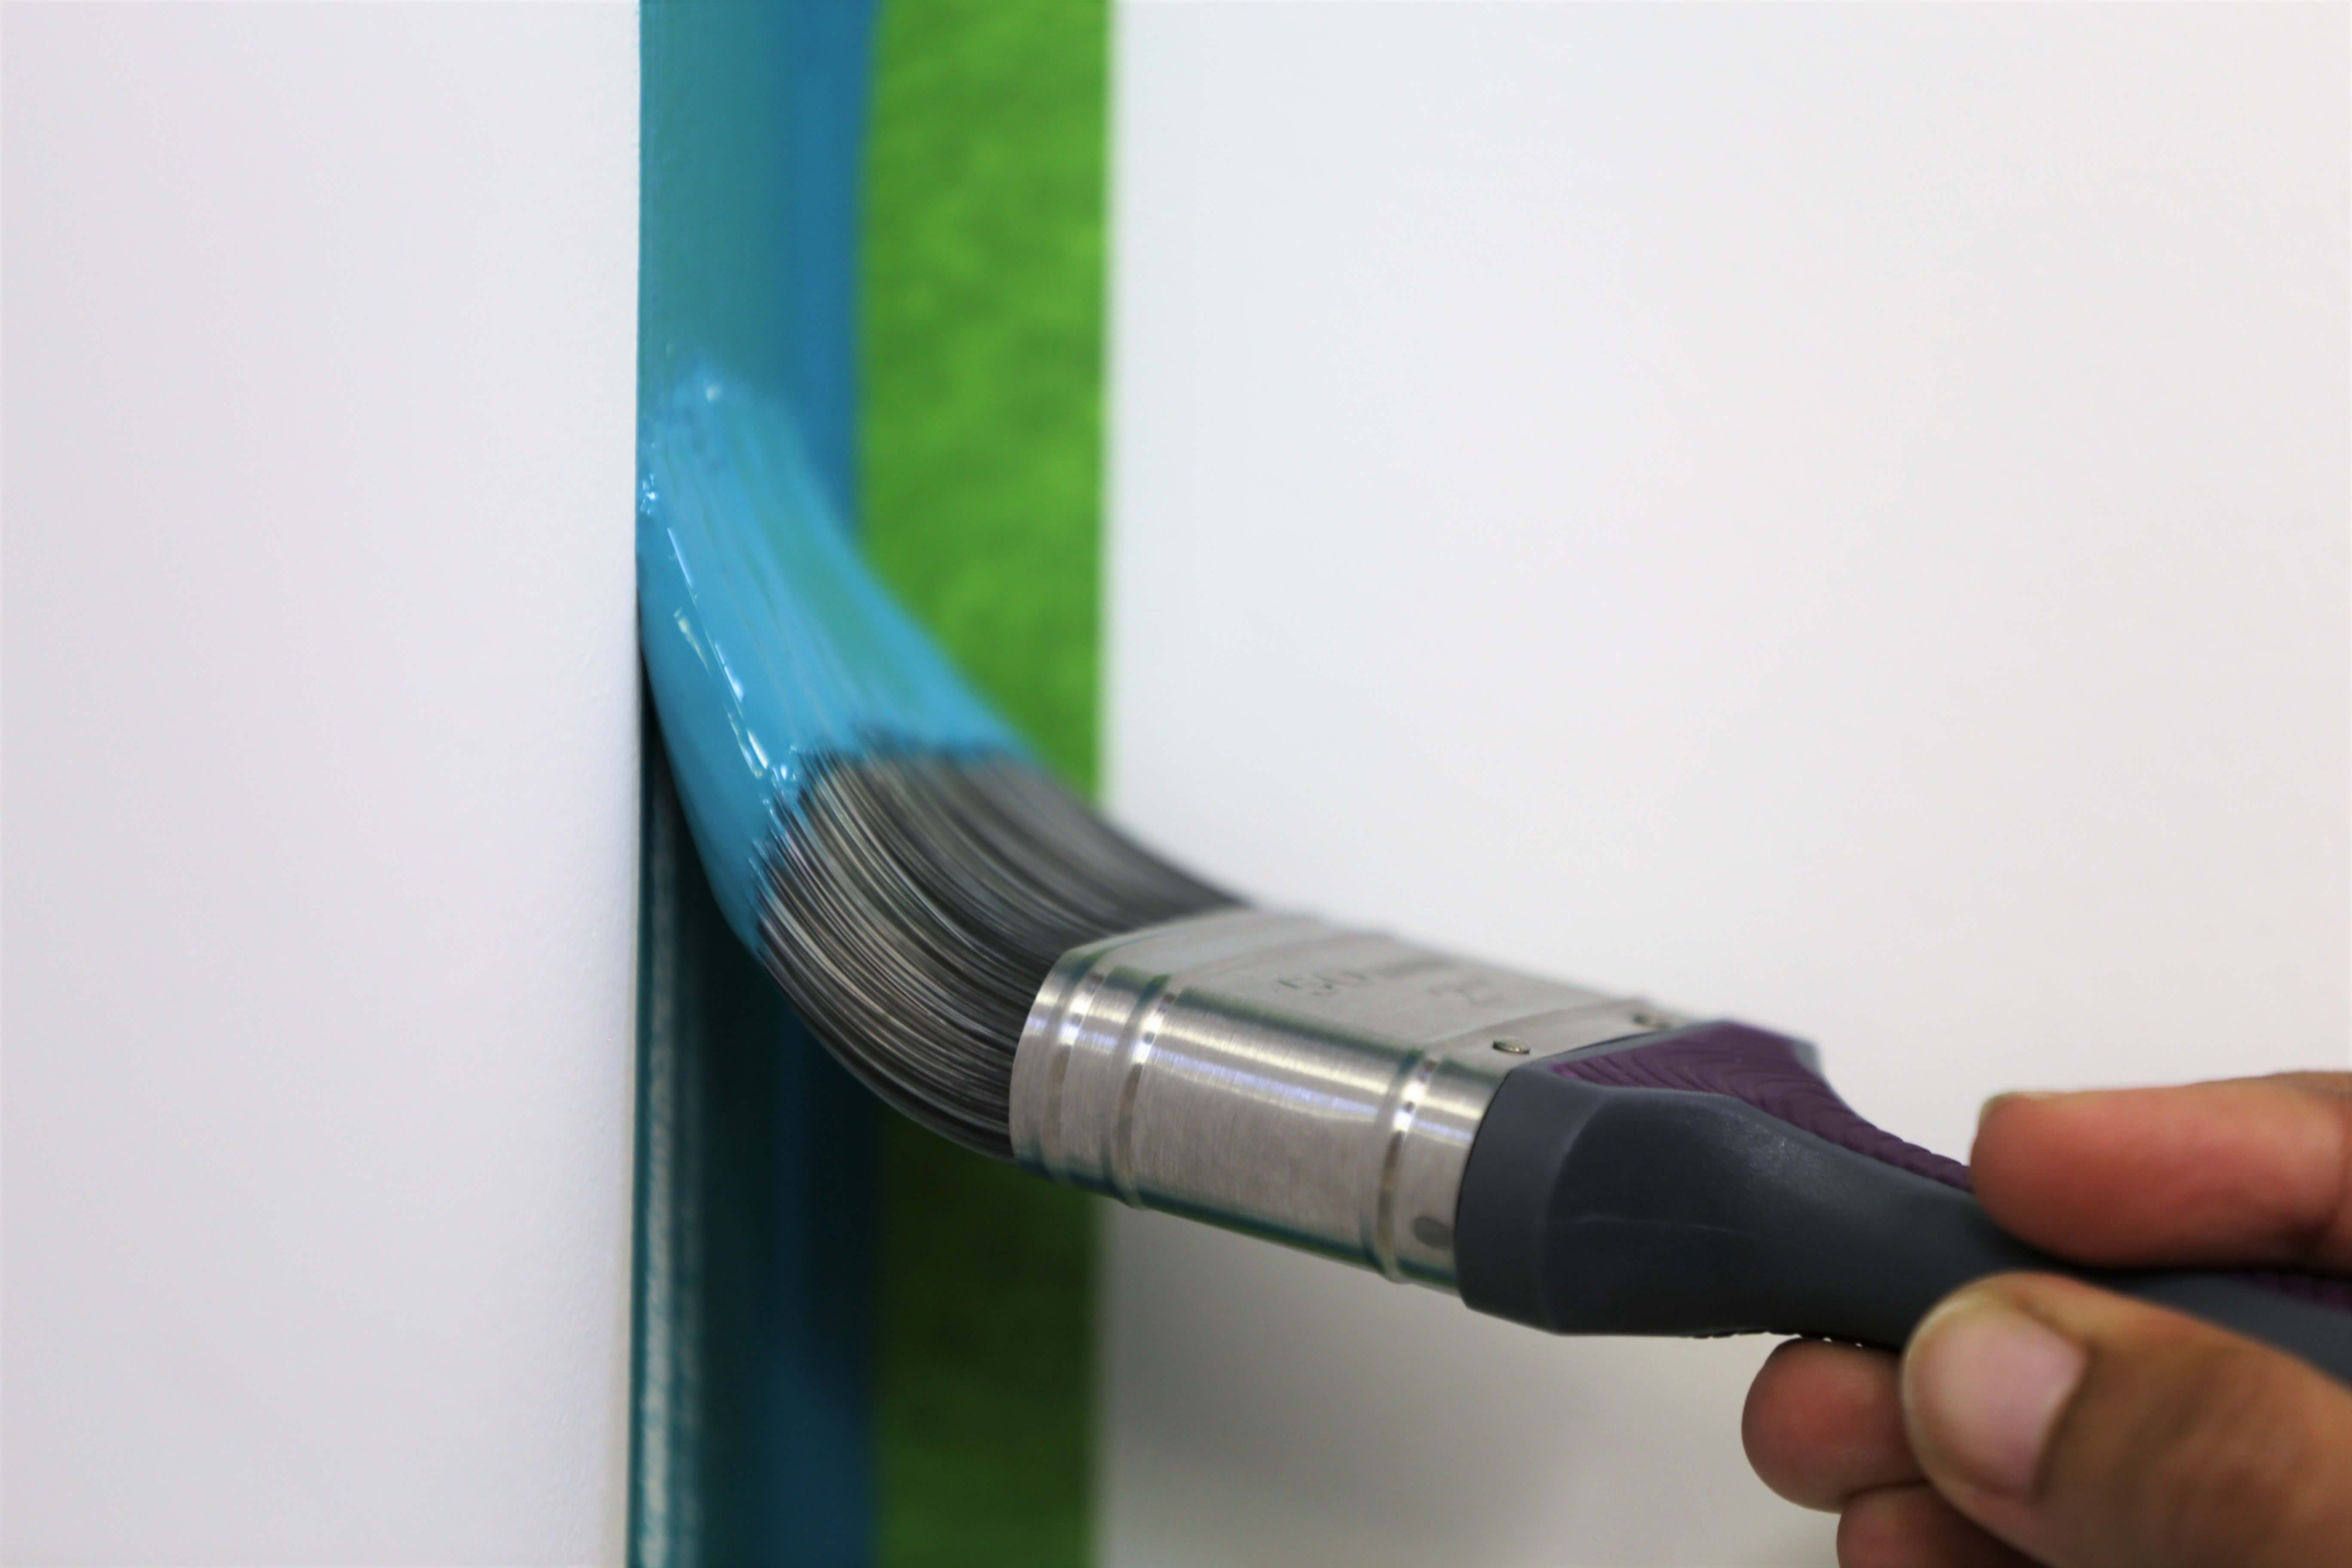
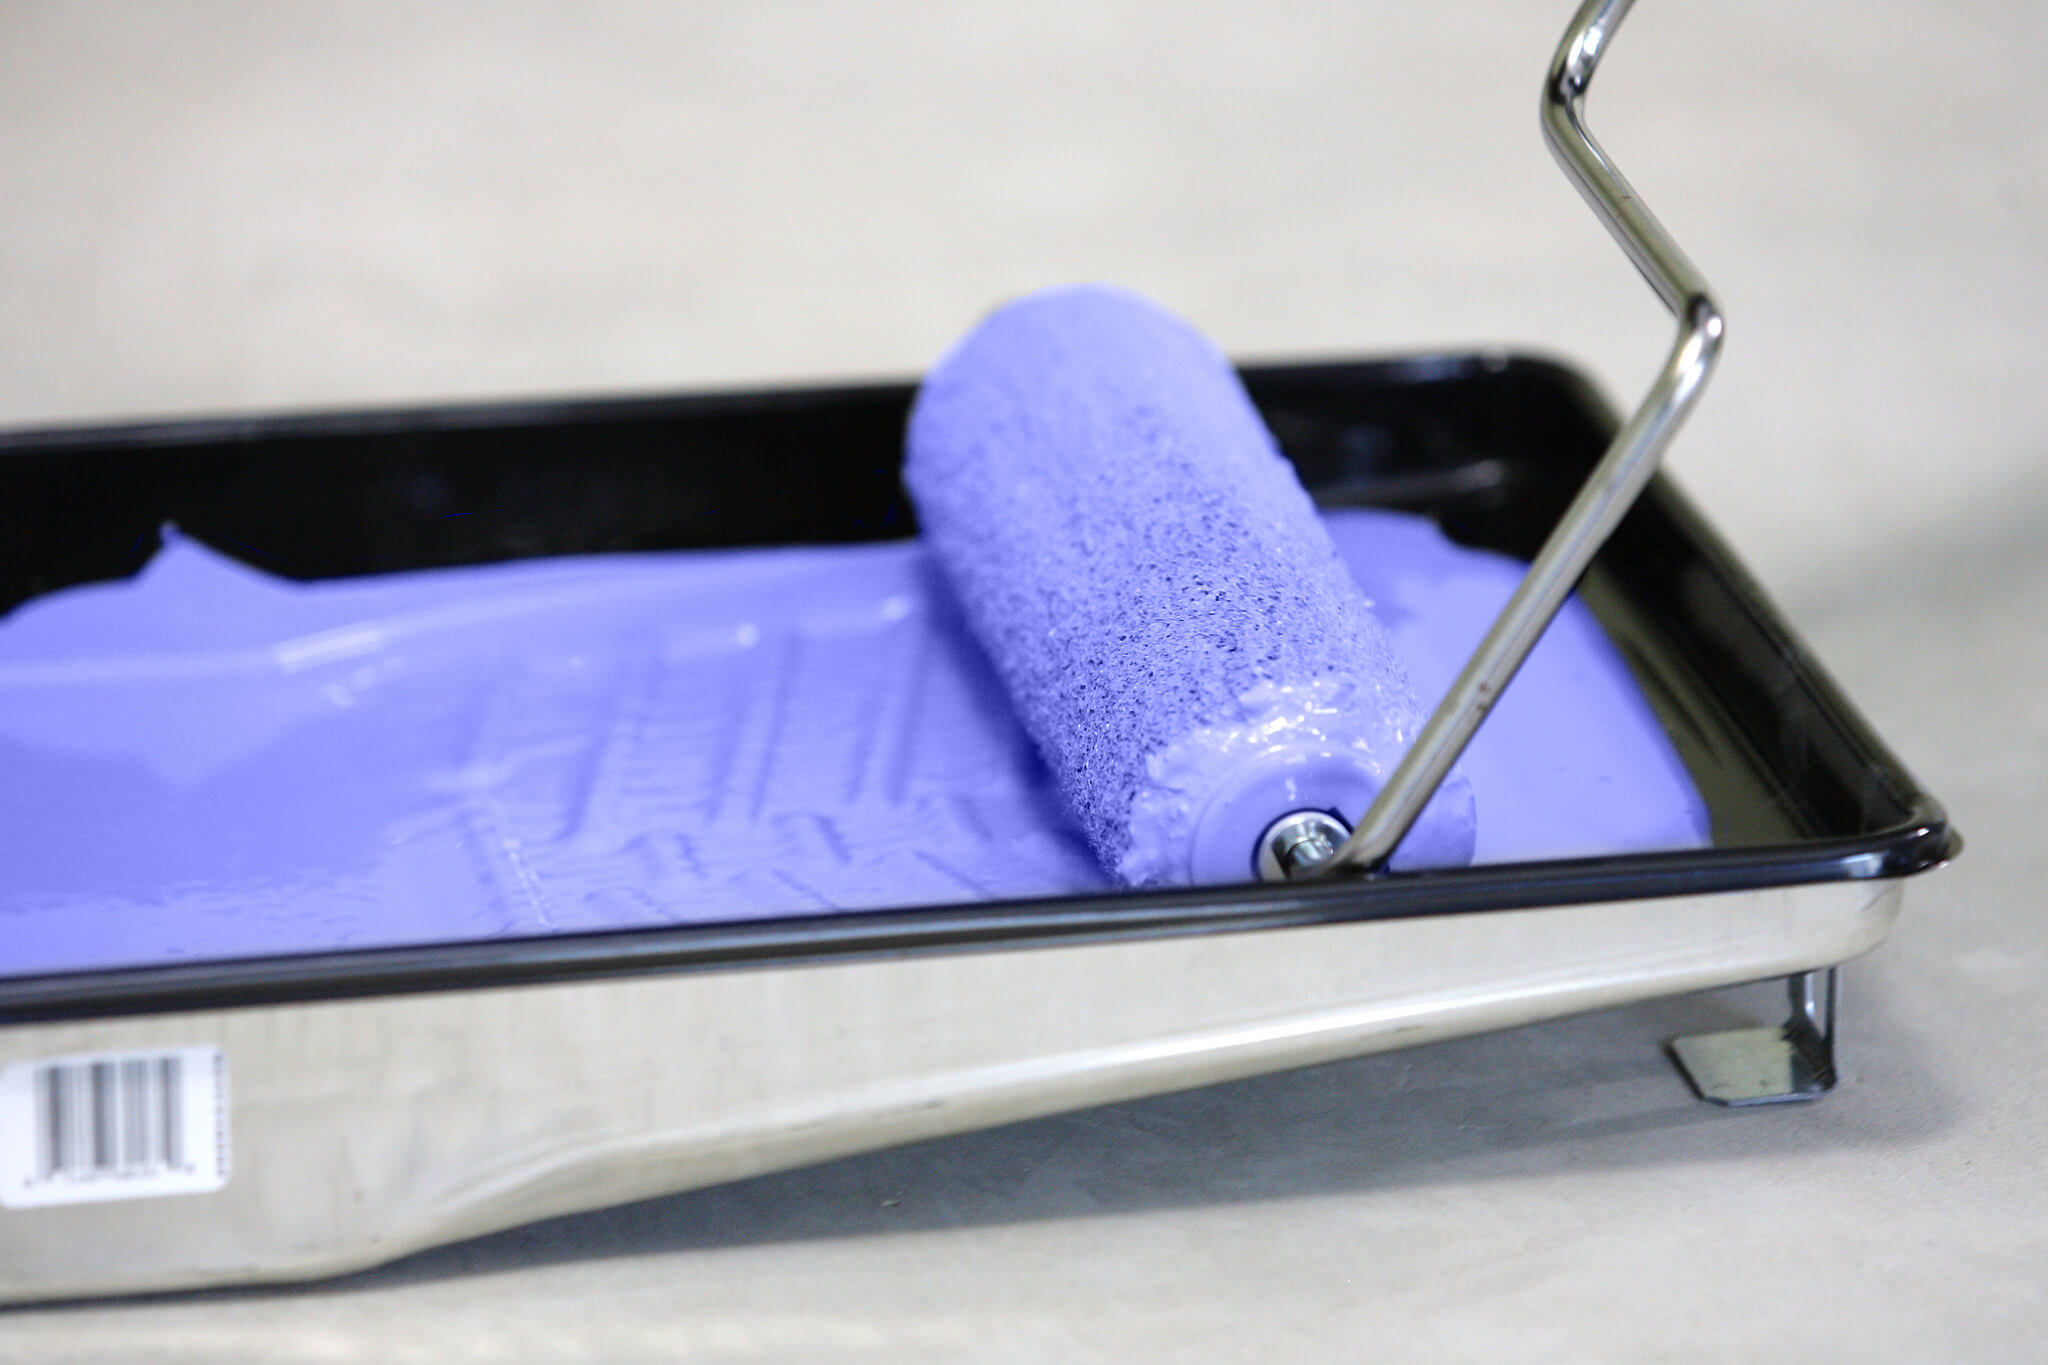
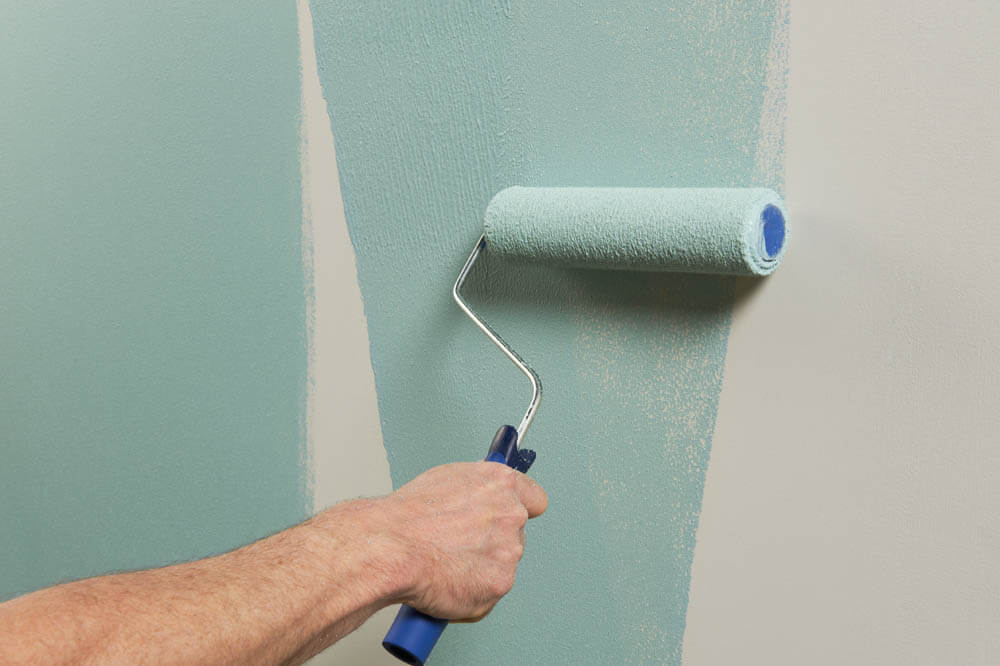
Paint around the edges first (otherwise known as ‘cutting in’) with a broad paintbrush and then fill in the rest. A roller is the most efficient way to paint unless you need to paint intricate detail, like decorative coving. A roller will take next to no time to paint the wall and is really easy to use. All you need to do is apply the paint in a W motion, making sure you overlap patches a little bit. When you’ve finished painting the wall, peel off the tape while the paint is still wet for a clean line.
Skirting boards are the last if you’re not painting the floor. If you’ve just painted your wall, tackle this job a week or so later to let the wall paint settle. If your skirting boards are bare wood, they will need priming first. Remember: skirting boards don’t have to be white! Add some colourful character or choose a modern twist and match the colour of your skirting to the wall.
If you’re painting floors, this is the very last step. Decorator’s tape will protect your freshly painted skirting boards and give you the clean lines you want. When painting a floor, make sure you don’t paint yourself into a corner and work logically from the farthest corner, making your way towards the door.
2. Preparation is key
The quality of your finish is determined by more than just how you apply the paint. Preparation can have a big impact on the quality of your final look. The more care you put into preparation, the better your finish will be.
First, inspect your wall for damage that needs repairing. This includes small holes, chipped plaster, hairline cracks or scratched wood. Basically, look for any issues that will cause problems for your paint. There are plenty of fillers out there to help you fix these issues, giving you a perfectly smooth surface to work from, all you need to do is choose the relevant one.
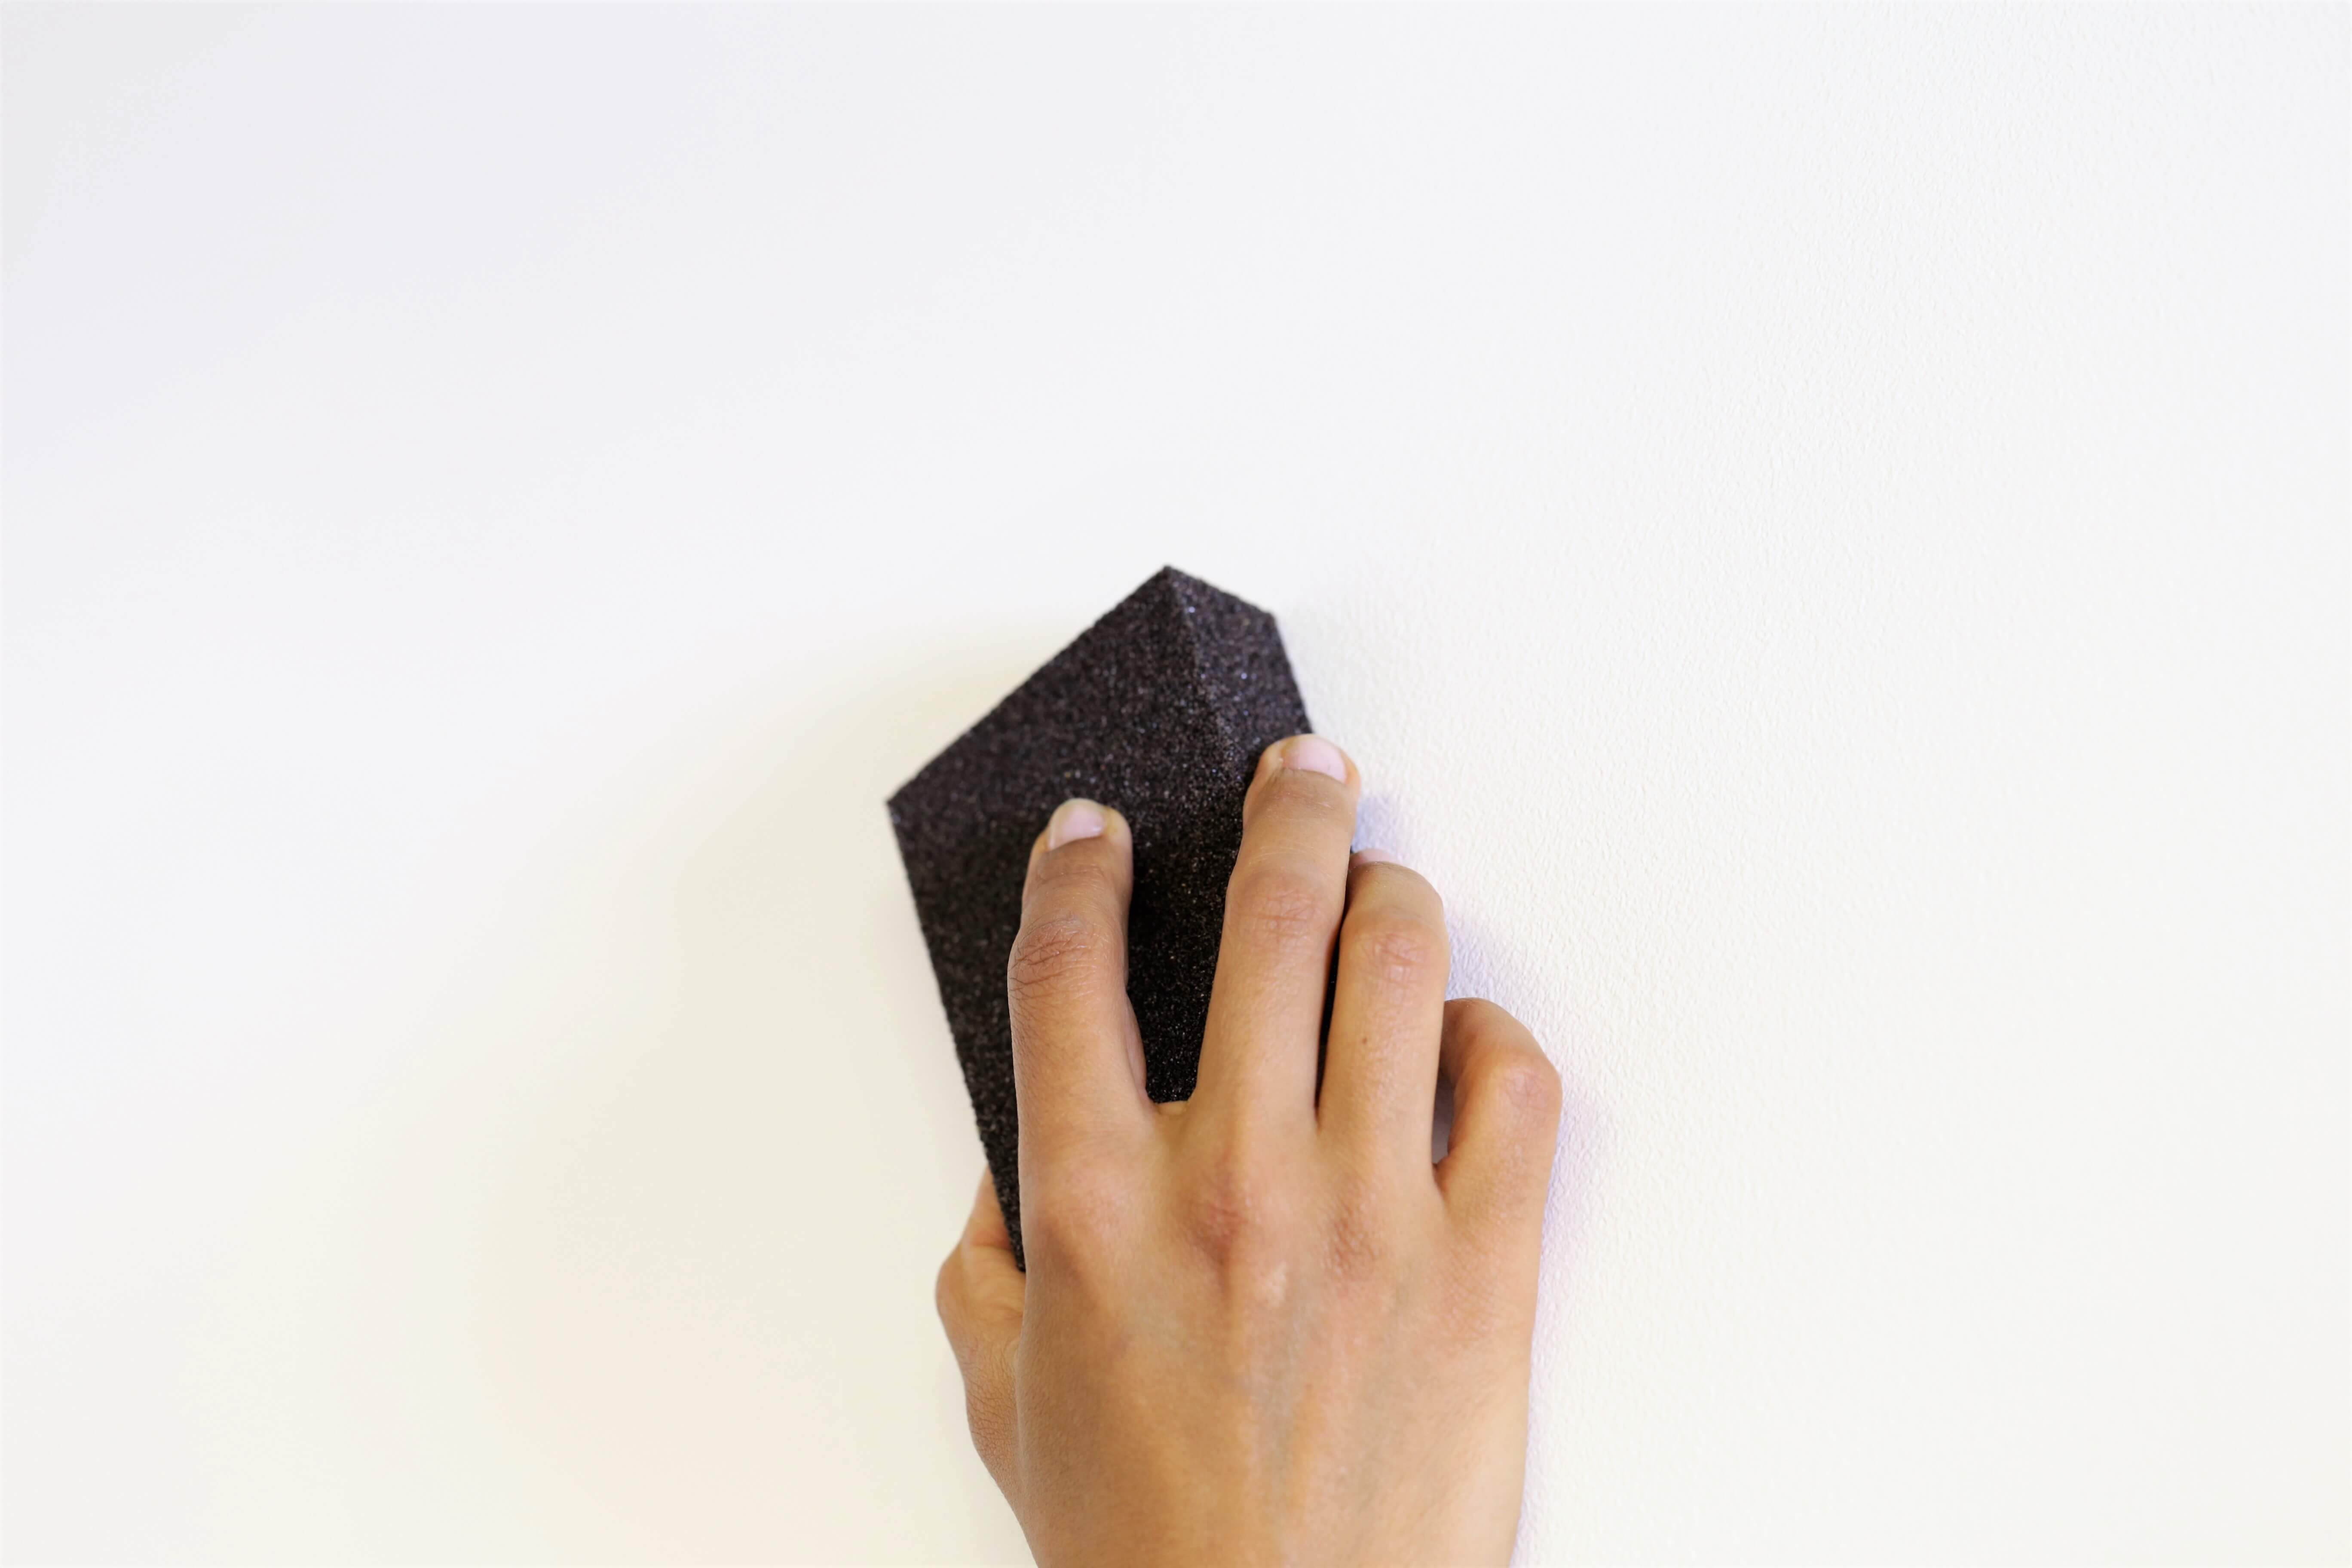
Take the time to sand the surface, targeting any lumps and bumps to smooth it out. Look for areas and patches where the paint is rough or you can feel that it’s not completely smooth. Peeling or flaking paint can be sanded back until the edges are smooth. If you’ve used filler, this is the time to sand it down so it sits flush with the wall.
Sugar soap is magic. This solution can cut through grease, dirt, sticky patches… pretty much anything! Even if you can’t see any obvious bits of dirt, you’d be surprised how it can accumulate over time so you should always use sugar soap. All you need to do is spray it on the surface and give it a scrub. Then, use some clean water to wash it off. If you don’t wash it off, you’ll be left with a film of sugar soap that stops the paint from sticking properly, leaving you with a poor finish.
3. Cleaning up is just as important as painting
We know that you might call it a job done as soon as you’ve finished painting, but you still need to clean up.
Properly cleaning and maintaining your tools makes a big difference to future projects.
When you’ve finished a job, scrape off excess paint from your brush or roller. Remove as much as you can and then rinse it in a bucket of warm soapy water.
All our paints are water-based, so rinsing in warm water is all you need to do to clean up. But if you’re not using a water-based paint (check the tin to find out) you need to soak your tools in white spirit overnight. Wearing protective gloves, massage the bristles or roller to dislodge any loose paint. Use a rag to pat dry. Remember, you can’t pour white spirit down the sink! Let the paint settle to the bottom and then pour the white spirit back into the bottle.
Top tip: If you’re halfway through a job and still need to use the brush or roller the next day, wrap it in cling film or put it in an airtight sandwich bag. This will prevent the paint from drying out so you can easily use the tool the next day.
4. Pick your paint carefully
You can do all the prep in the world, but if you’re using poor quality paint, your finish won’t be as long-lasting or high-quality as you hoped.
Pick a paint that’s suitable for your project. Bathroom and kitchen paint are both designed to withstand steam and condensation. They’re also easy to clean so don’t worry about getting splatters of shampoo or Bolognese on the walls.
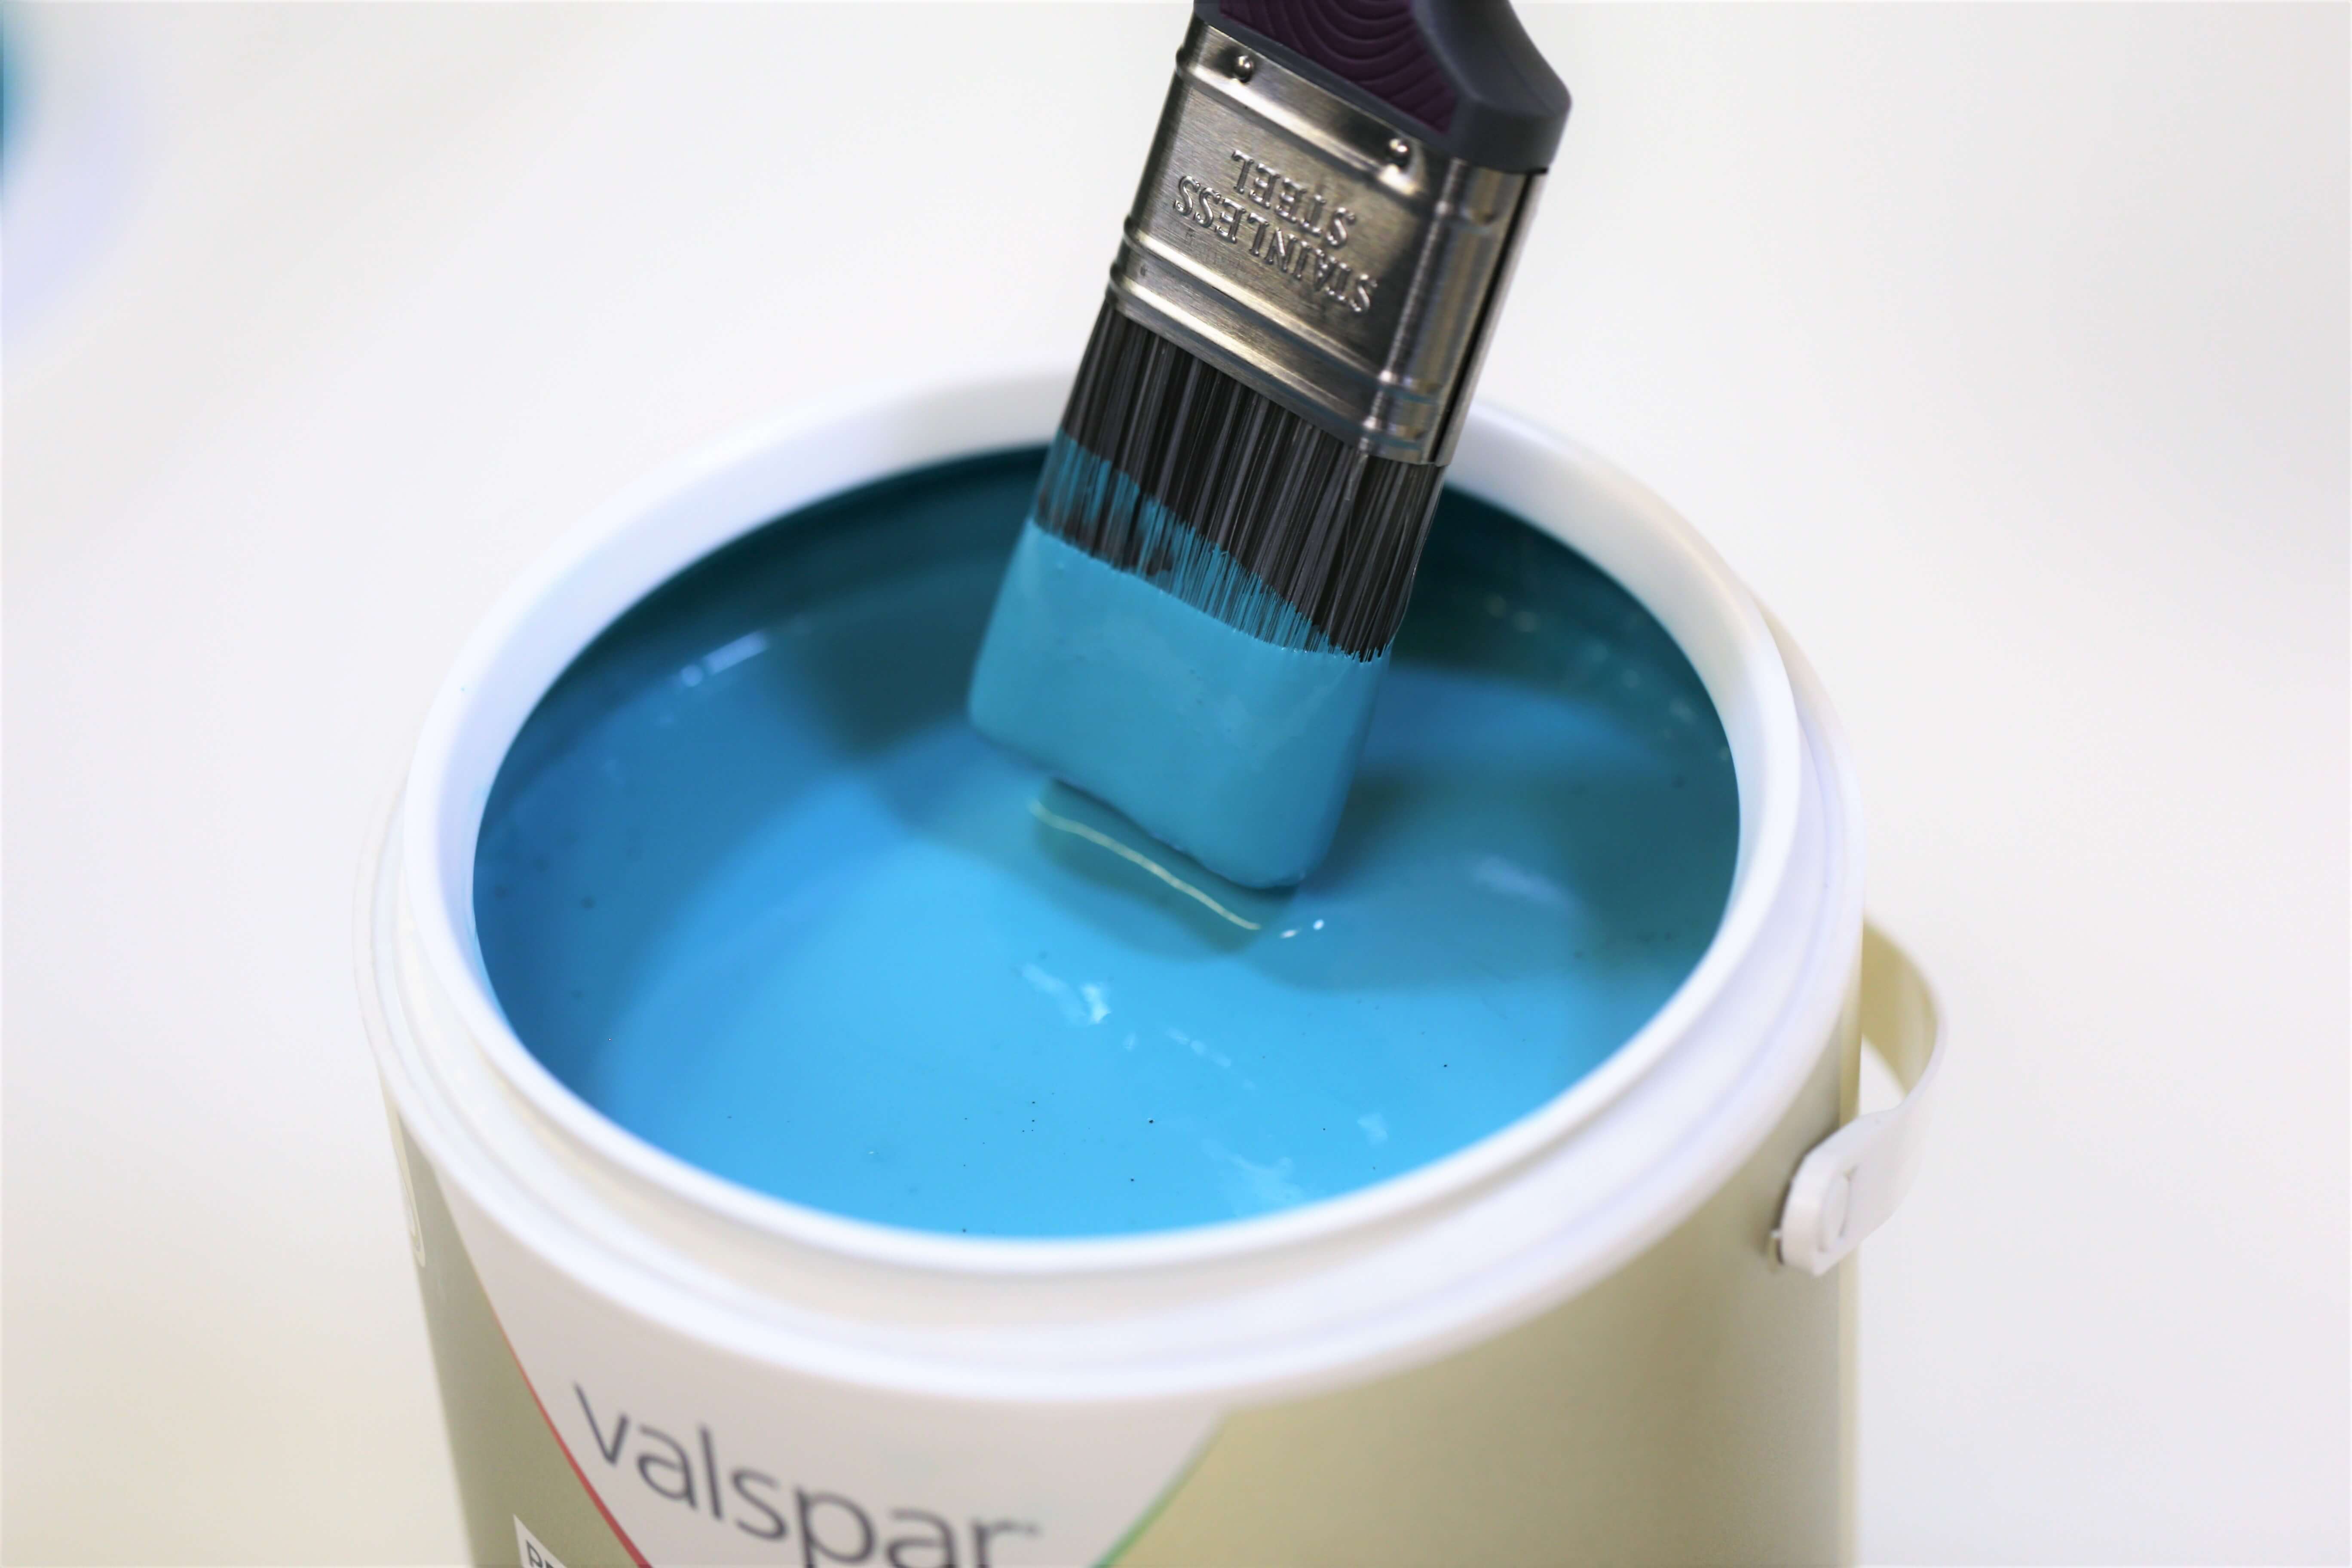
Good quality paint shouldn’t scratch or peel. It should have a good, strong colour pigment so you can complete the job in fewer coats. It’s worth considering your options and picking a paint that has the properties you need.
For example, are you painting a children’s room? Look for a paint that’s scrubbable to help remove any marks or knocks from everyday play.
5. Tools can make a difference
Just like paint can make a difference, the quality of your tools can too.
You don’t have to buy professional tools, but don’t settle for cheap ones either. Poor quality brushes may shed bristles which can get stuck in your paint and dry into the wall. While it’s not an ugly problem, it is an annoying one.
Poor quality rollers will either not pick up enough paint which can leave your finish patchy and streaky. This is often because the paint is applied too thinly and it dries quickly. Bad rollers can also absorb too much paint and leave paint splatters up the wall or in places you don’t want paint to be.
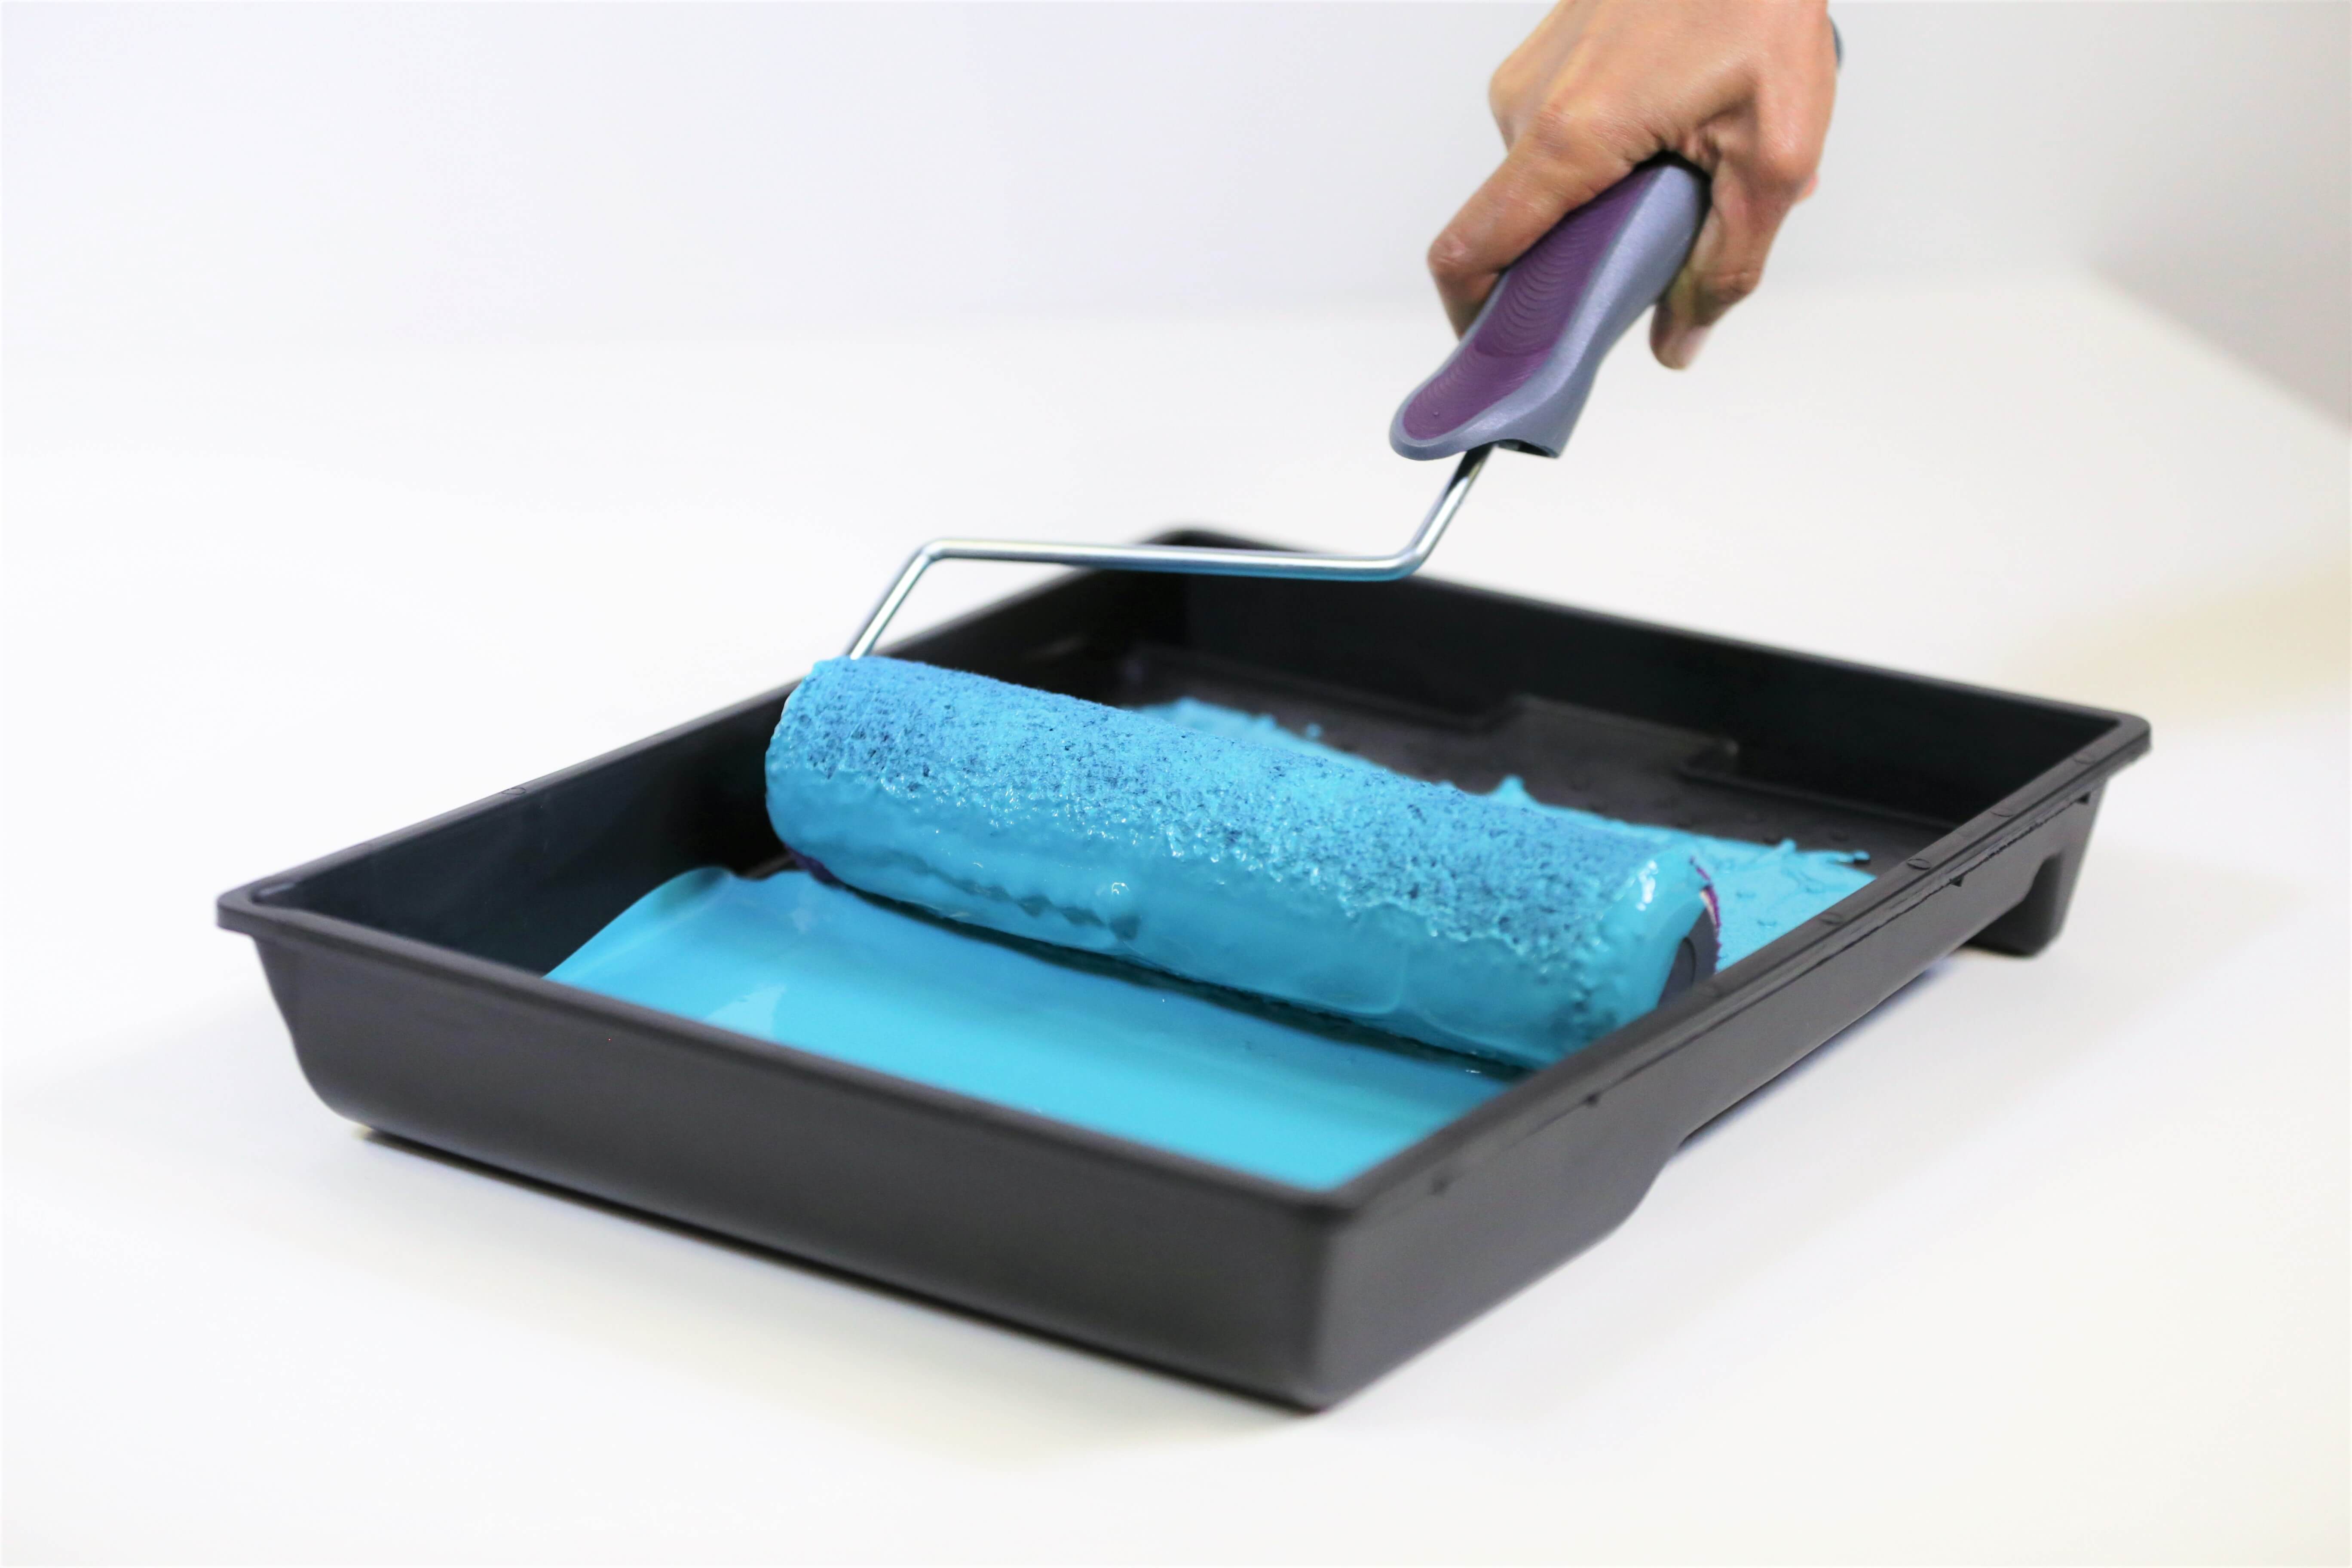
So when it comes to buying brushes or rollers, do your research and read the reviews.
The other key bit of kit you need for painting a room is decorator’s tape. Some people opt to use masking tape instead but decorator’s tape is specially designed so it doesn’t bleed. If the tape bleeds, you’ll end up with patches of paint ruining your finish.
Don’t forget we’ve also got plenty of helpful how-to guides if you get stuck!


